
Hostos GD Sample Project
Making Unity (older versions) WebGL Builds for Itch
When making a game in Unity, it's recommended to host a WebGL build on itch to make your game significantly more accessible. Here's the step-by-step for how to do a WebGL build and get it to your itch page.
Step 1
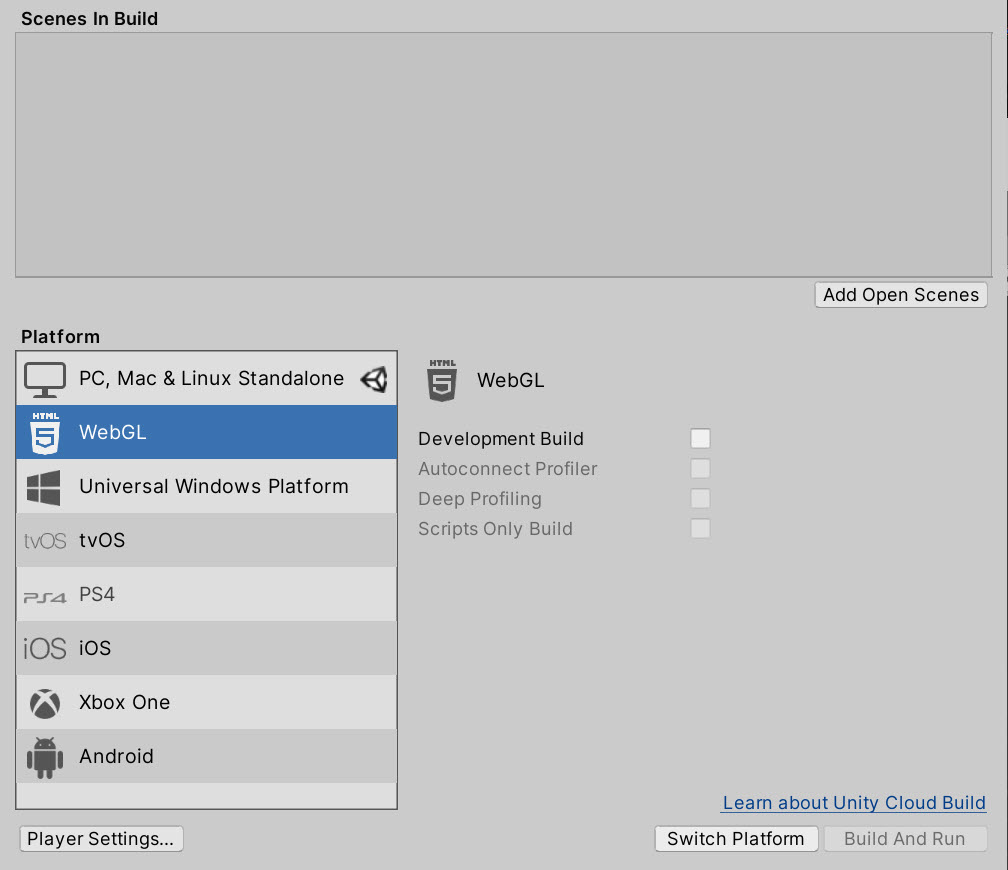
File -> Build Settings

Step 2
Go to WebGL under Platform. Make sure to add all scenes you want included in the build under "Scenes in Build," by dragging them in or using "Add Open Scenes." If you don't have the WebGL module installed, click the link to download and install it (you will need to close Unity before installing it). If your most recent build was not a WebGL build, you may need to click "Switch Platform" at the bottom, which make take a few minutes to process.

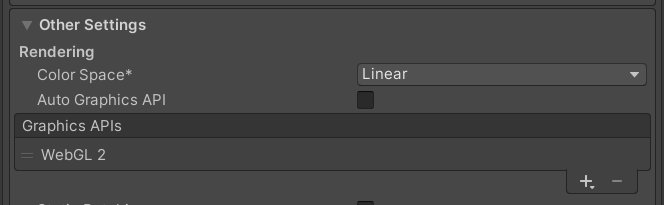
If presented with a warning near the bottom about Color Space incompatibility, click on Player Settings in the bottom left corner. Under Other Settings, make sure Auto Graphics API is unchecked and only WebGL 2 is listed under Graphics API. If you're building for itch.io, under Publishing Settings, make sure the Compression Format is set to either GZip or Disabled. If you're building for a Github Pages repo, set it to Disabled. Exit the Player Settings and return to Build Settings window.

Unless you have a specific reason, leave "Development Build" unchecked. Click "Build and Run" and save it to a folder outside of your project folder.
Step 3
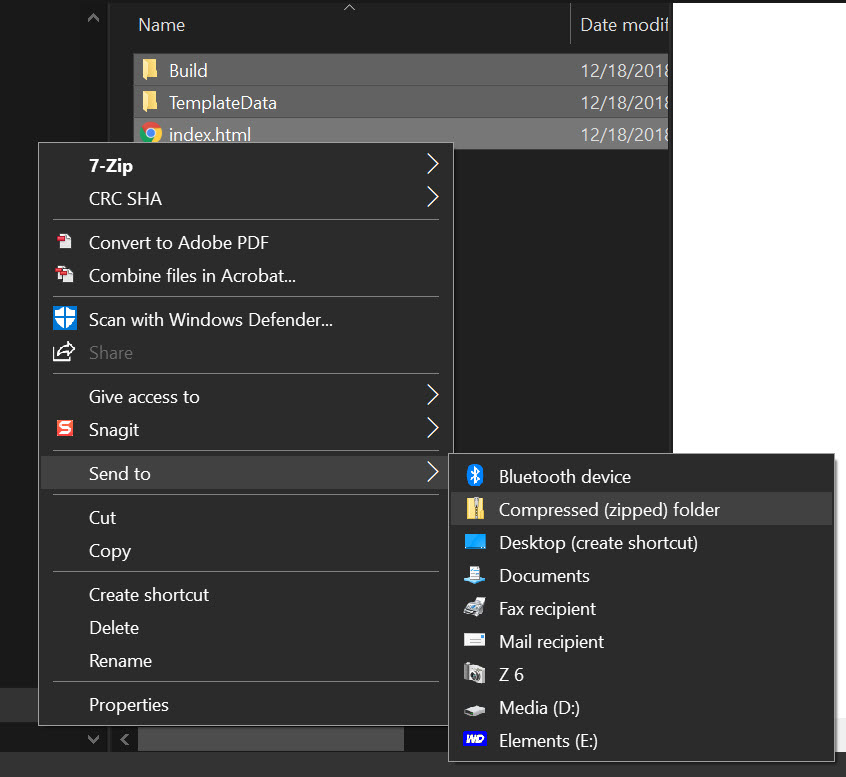
The exported content should include the following: Build (folder), TemplateData (folder), index.html (file). Select these three items and compress them to a zip file.
a. Select the three items
b. Right-click the selected items
c1. for Windows: Send to->Compressed (zipped) folder
c2. for Mac: Compress filename
Step 4
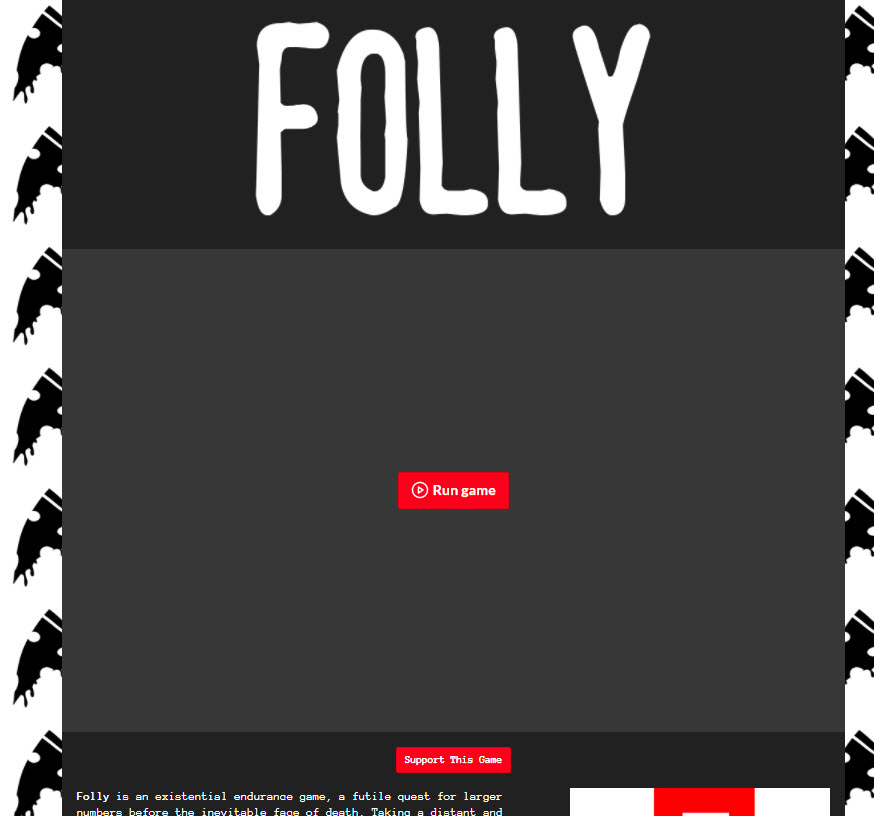
Go to your Edit Game page for your project on itch.io. Set the Kind of Project to HTML. Upload your zip file , select the checkbox "This file will be played in the browser" and save your itch project.


Voilà!
Leave a comment
Log in with itch.io to leave a comment.